Overview
In this lesson, we first learned the basic steps of drawing an animation:
1. Have a plan
Don’t go straight into animation at first, this often leads to a lot of unnecessary mistakes and duplication of unnecessary work. You can visualize the action in your head first, a clear plan is necessary.
2. Look for references
It is best to shoot a video of yourself drawing the movements needed to perform, to personally feel how the movements start and end, and the different forces used in each stage.
3. draw some thumbnails
Draw some important and key actions on paper that you need to animate. In this phase you don’t have to worry too much about whether each stroke is correct, just draw.
4. keyframes
Draw the animation’s keyframes with reference to the thumbnails you drew.
5. Timing: Once you have your keys, do the first guesstimated timing and see how it looks. Then move on to the breakdowns. Retime and look closely at how the movement works.
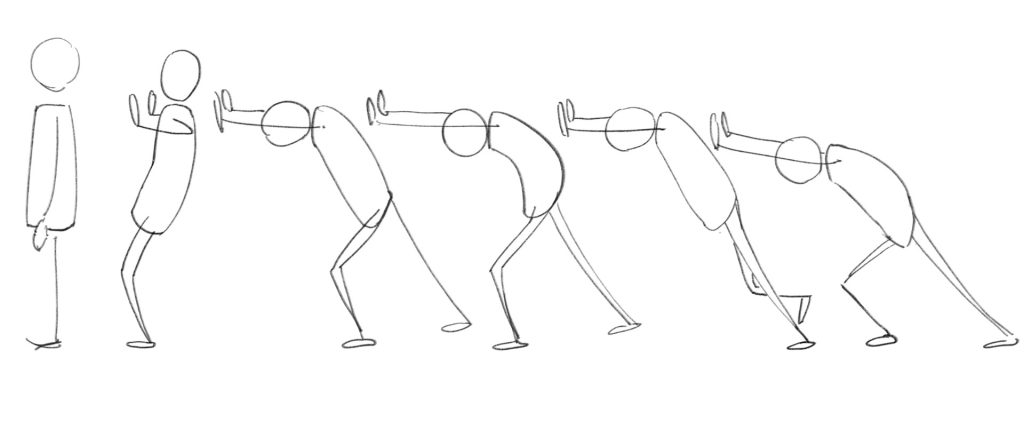
Push
I drew the push action first.
Pull
And then I drew pull movement.
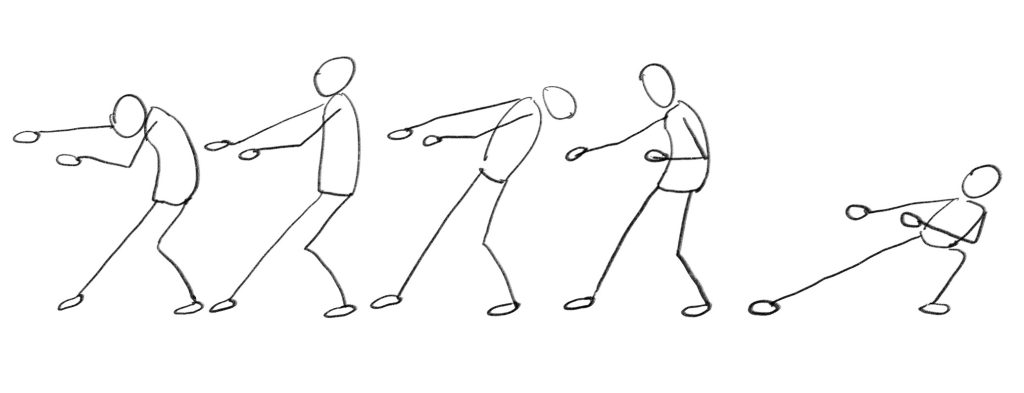
After I showed my sketch to the teacher, It seemed like although there was no big problem with my whole movement, it was not “animated” enough, which meant that I needed to exaggerate my movement more, and the range of movement became larger so that the movement would have more tension.